Create a new export
- Thomas Speekenbrink
- Remco Visser
- Véronique Borel
- Jan Verlaan (Unlicensed)
Overview
In this article, we describe how to create a new export in DataBridge.
Intended Audience
This article is intended for persons who are administrators for DataBridge.
Prerequisites
The following prerequisites are required before you follow the steps below.
- A (demo) subscription of DataBridge. To sign up, follow this URL: https://my-databridge.infobridgeuniverse.com/Account/SignUp
- A SuperOffice CRM login name with administrator rights
- A cloud storage provider, like Dropbox, Microsoft OneDrive, Google Drive or an FTP server.
Create a new export in DataBridge
- Log into DataBridge
- Click Create New Profile
The Create New Profile wizard will start. All the different steps are described in detail below
Create profile
Start the creation of a new import profile by clicking the Create New Profile button.
| Create New Profile | |
|---|---|
| Name | Enter a name for your profile |
| Location and destination | |
|---|---|
| Location | Select the location you want to export your data from. For the export profile, this would be SuperOffice CRM Online |
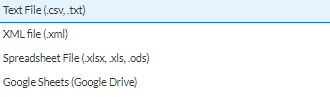
| Destination | Specify the destination for your data
|
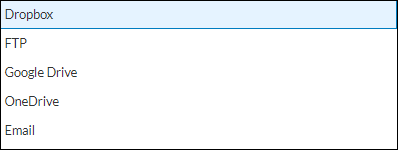
| Store | Specify where to store the data
|
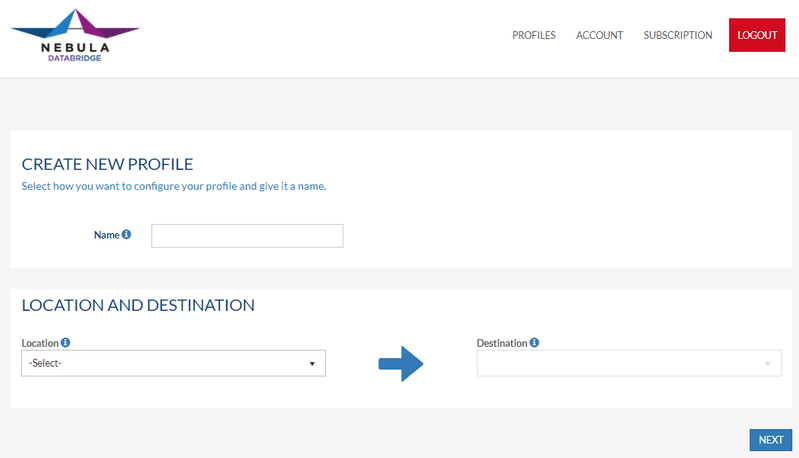
Click Next to continue.
Configure profile
In this step you have to set your connections to SuperOffice CRM and a (cloud) storage provider.
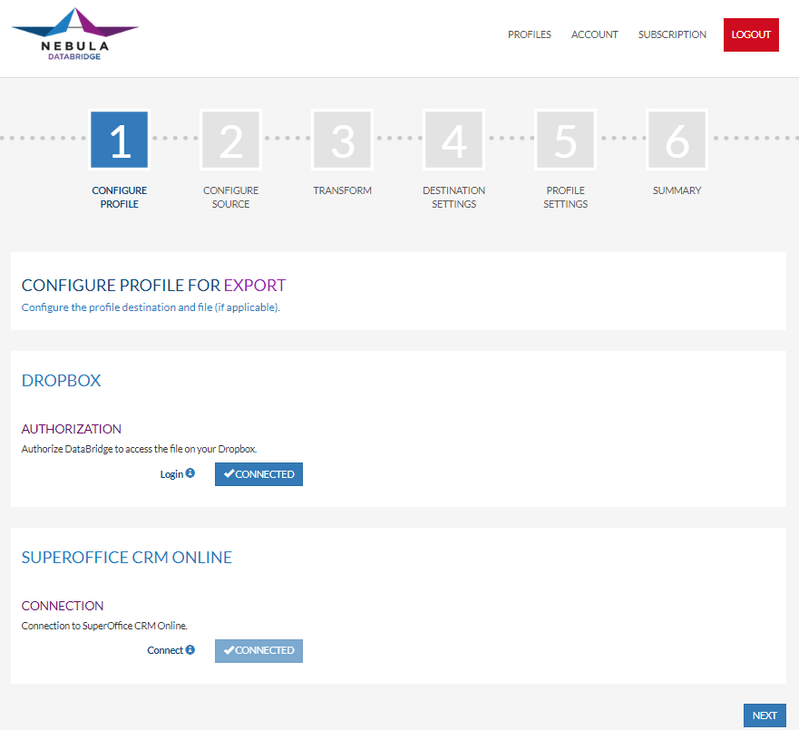
Click Next to continue.
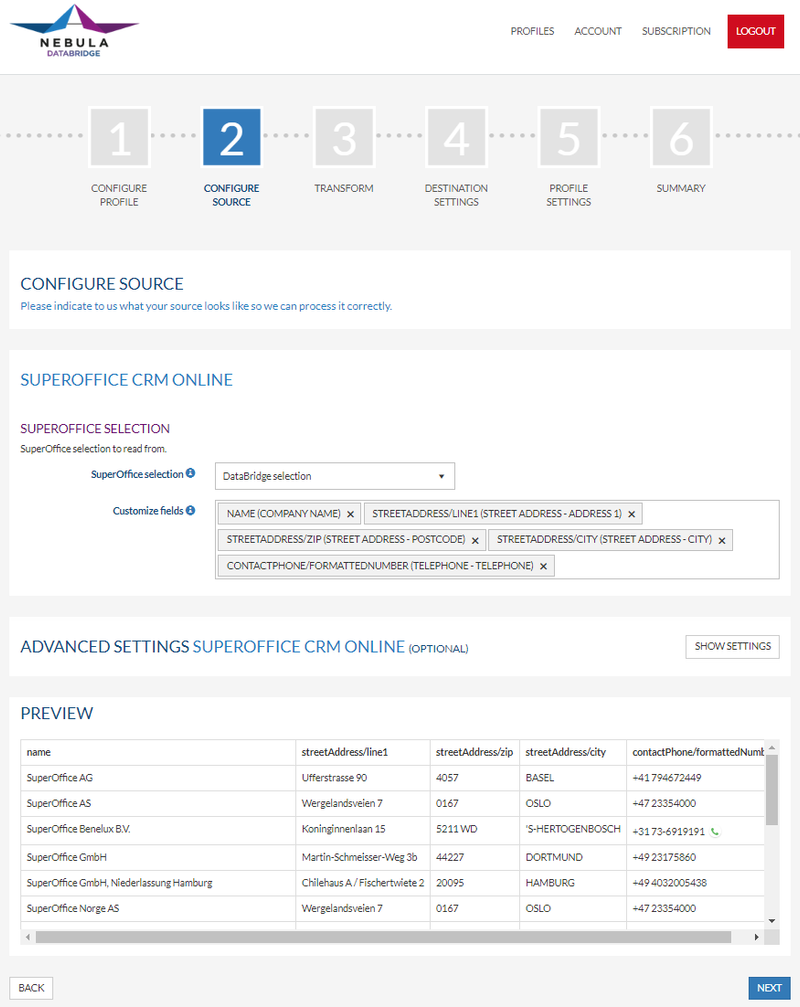
Configure source
Indicate what the source looks like. The source being a SuperOffice CRM selection.
SuperOffice CRM Online
| SuperOffice selection | |
|---|---|
| SuperOffice selection | Select your SuperOffice CRM selection |
| Customize fields | Choose the SuperOffice CRM selection fields to read. Note: A * means the field will not work in instant mode |
Advanced settings
| Selection | |
|---|---|
| Manual fields | Add SuperOffice selection fields manually to read. Each line is a new field. The format is: project/projectUdef/SuperOffice:1contact/number |
| Columns | |
|---|---|
| Static columns | Add static columns to the export file. The columns will be added after the columns of the selection. Each line is a new column. You can define both the column header as the column content. The format is: Heading=Content For example: Customer type = Large |
| Language code | Choose the language to use for translated items |
More information on the advanced settings
Click Next to continue.
Transform
In this step you can add transformations. With transformations, you can apply transformations to the data and columns.
Note: this is optional.
More information on all available export transformations can be found here.
Click Next to continue.
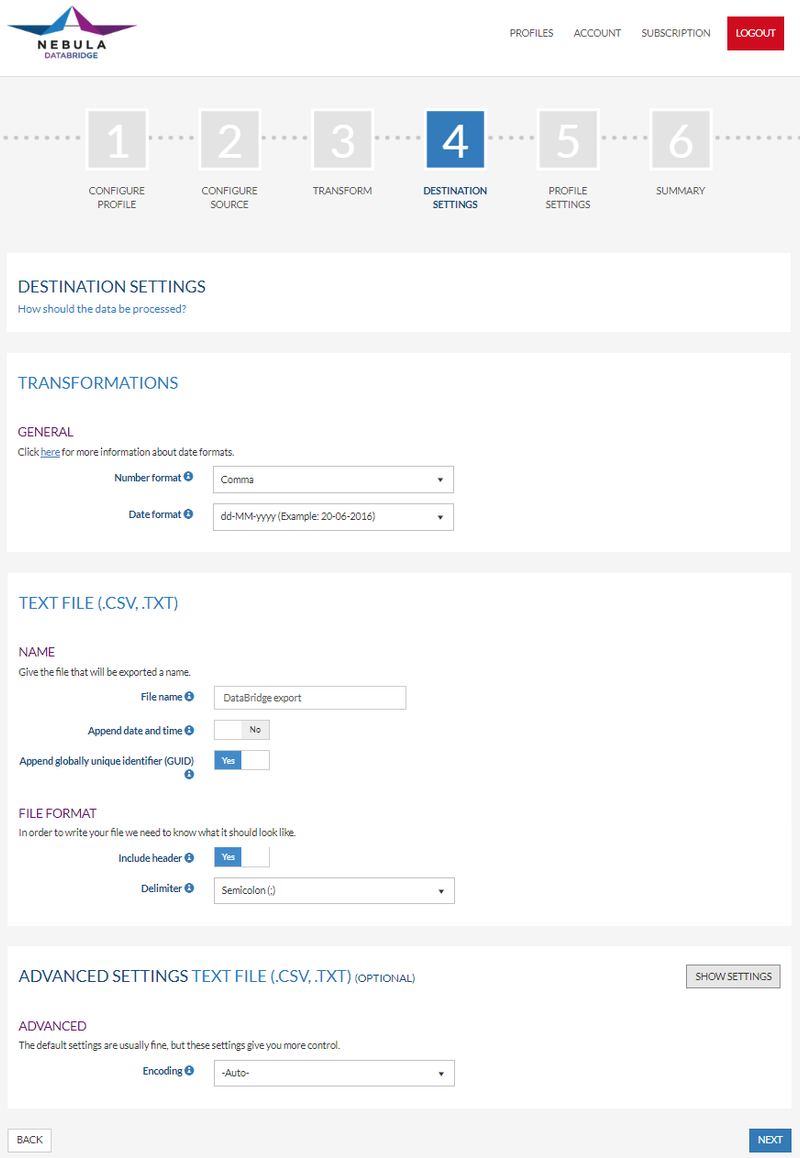
Destination settings
Settings to process the data, like number format.
Transformations
| General | |
|---|---|
| Number format | Select the format of the decimal values in your data |
| Date format | Select the format of the date values in your data |
Text file (.csv, .txt)
| Name | |
|---|---|
| Filename | The name of the file that will be exported (without the file extension) |
| Append date and time | Do you want to add the date and time of the job to the file name of the exported file? The date and time will only be appended if a file name is specified |
| Append globally unique identifier (GUID) | Do you want to add a GUID to the file name of the exported file in order to create a random unique file? The GUID will only be appended if a file name is specified |
| File Format | |
|---|---|
| Include header | Should the first line of your file contain the column name |
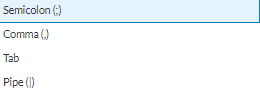
| Delimiter | Which character must be used to separate the fields in the file
|
Advanced settings
| Advanced | |
|---|---|
| Encoding | Which text encoding must be used for the file |
Click Next to continue
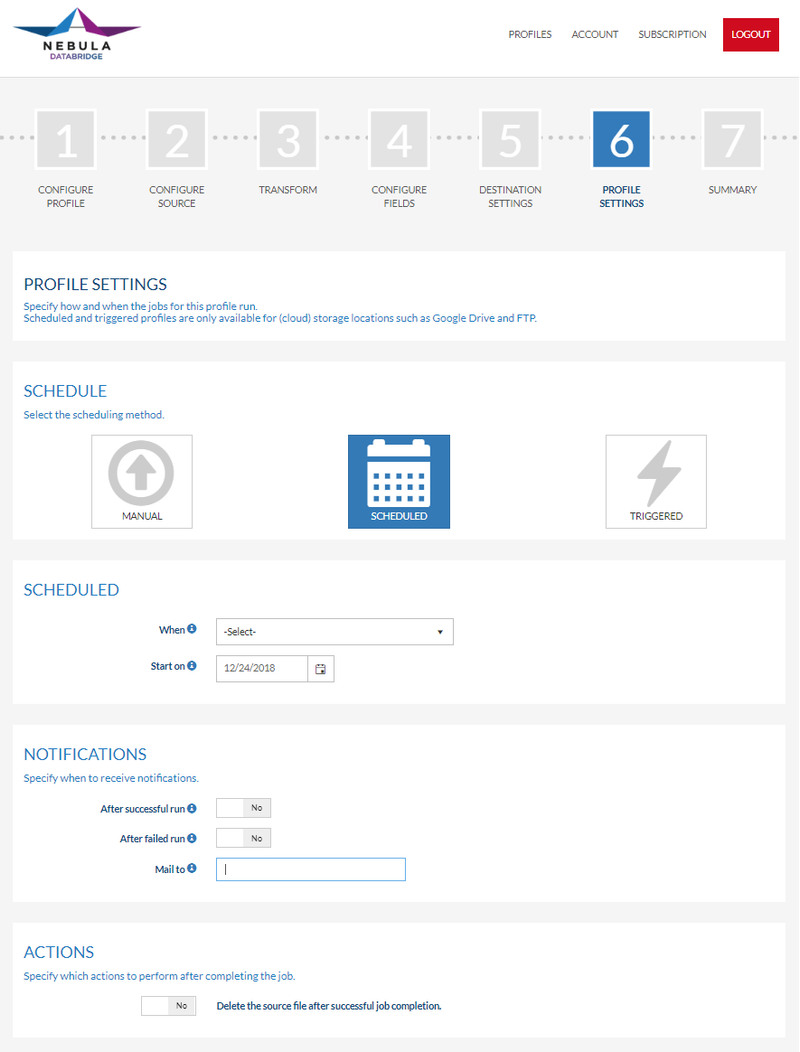
Profile settings
In the profile settings, you can specify how and when you want the import job to run.
Note: Scheduled and triggered profiles are only available for (cloud) storage locations such as Google Drive and FTP.
| Manual | |
|---|---|
| Notifications | Specify where and when to receive notifications; after a successful and/or failed run |
| Actions | Option to delete the source file after successful job completion |
| Scheduled | |
|---|---|
| Scheduled | Select when (Hourly, Daily, Weekly or Monthly) and from which date the schedule should start, more info |
| Notifications | Specify where and when to receive notifications; after a successful and/or failed run |
| Actions | Option to delete the source file after successful job completion |
| Triggered | |
|---|---|
| Triggered | The job will be executed according to the profile configuration when a request is made to a specific secret URL. There are 2 options that you need to enable separately with the toggle button:
Please carefully read the information in this article if you want to use this advanced functionality. |
| Notifications | Specify where and when to receive notifications; after a successful and/or failed run. |
| Actions | Option to delete the source file after successful job completion. |
Click Next to continue.
Summary
A summary of all the settings is shown including an overview of the field configuration.
Save and process now: This option is available when you have selected a manual schedule. This will save your profile and process it now.
Save: Save your profile.
Extending the idea
This article describes how to create an export profile. If you want to create an import profile see this article.
Summary
You have learned to create an export profile.