/
Create a Birthday Panel in SuperOffice CRM
Create a Birthday Panel in SuperOffice CRM
- Thomas Speekenbrink
- Jan Verlaan (Unlicensed)
- Véronique Borel
Owned by Thomas Speekenbrink
Last updated: Mar 20, 2020 by Jan Verlaan (Unlicensed)
Overview
In this how-to article, we describe how to create a birthday panel in SuperOffice CRM.
Never forget that important birthday. Just create a birthday panel and display all upcoming birthdays in the next three months.
Intended Audience
This article is intended for persons who are administrator for Panels.
Prerequisites
The following prerequisites are required before you follow the steps below.
- A (demo) subscription of Panels. To sign up, follow this URL: https://my-panels.infobridgeuniverse.com/Account/SignUp.
- A SuperOffice CRM login name with administrator rights.
Configure Panels
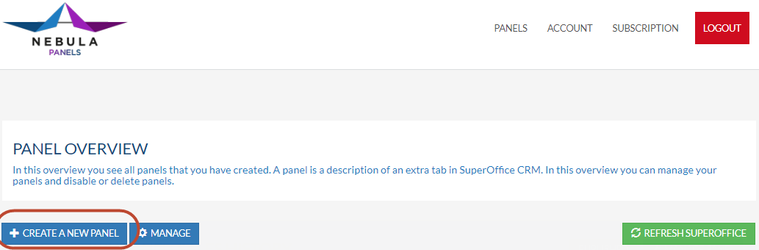
- Log into Panels.
- In the Panel overview click Create a new panel.
- Choose a name for your panel. It is used to determine the panels later. This is handy when you create more than one panel.
- Select the panel type, in this example, we choose the birthday panel.
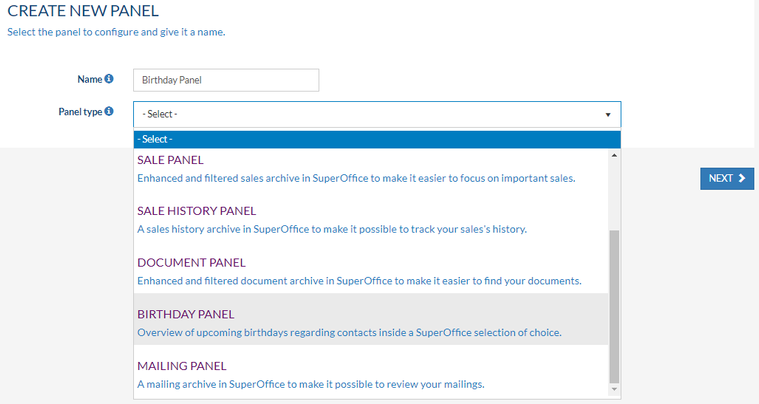
- Click Next.
- You can now set some general panel settings.
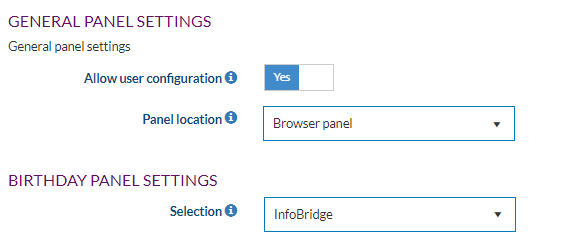
- Allow user configuration: When enabled every user is allowed to change parts of the panel configuration.
- Panel location: The location where this panel is shown in SuperOffice CRM. Contact archive, Project archive, Browser panel, Company MiniCard, Sale archive or Person Archive.
- Selection: The selection which is used to retrieve the persons whose birthdays are to be displayed
- Click Next
- A summary of your settings is shown. Go Back if you would like to make changes
- Click Save and Publish to save your new panel
- Your panel has now been saved and published. Click the green Refresh SuperOffice button to refresh SuperOffice and immediately see the changes

Extending the idea
This article describes how to create a birthday panel in SuperOffice CRM. With Panels, you can also create many other panels. See the Quick-start-guide for SuperOffice admins for more information on these other panels.
Summary
You have learned to create a birthday panel in SuperOffice CRM
, multiple selections available,
Related content
Use the Birthday Panel in SuperOffice CRM
Use the Birthday Panel in SuperOffice CRM
More like this
Create a Document Panel in SuperOffice CRM
Create a Document Panel in SuperOffice CRM
More like this
Where can I find the birthday panel?
Where can I find the birthday panel?
More like this
Create a Mailing Panel in SuperOffice CRM
Create a Mailing Panel in SuperOffice CRM
More like this
Republish a panel in SuperOffice CRM
Republish a panel in SuperOffice CRM
More like this
I don't see any birthdays when I click on the birthday panel
I don't see any birthdays when I click on the birthday panel
More like this