Synchronize resources for Microsoft 365
- Remco Visser
Overview
It is possible to synchronize resources with the Synchronizer. If you want to start using this option please fill out this form and we will enable the resource option in your profile.
A resource will take up an extra license in the Synchronizer.
Each Synchronizer customer is entitled to use a maximum number of five (5) Synchronizer licenses in addition to its total amount of SuperOffice users.
For example: if you have 50 SuperOffice user licenses, you automatically also have 50 Synchronizer licenses and you are entitled to set up a maximum of 55 Synchronizer licenses.
These 5 additional Synchronizer licenses will be added to your licenses after you requested enabling SuperOffice Resource synchronization using this form.
Intended Audience
This article is intended for persons who are administrators for Synchronizer.
Prerequisites
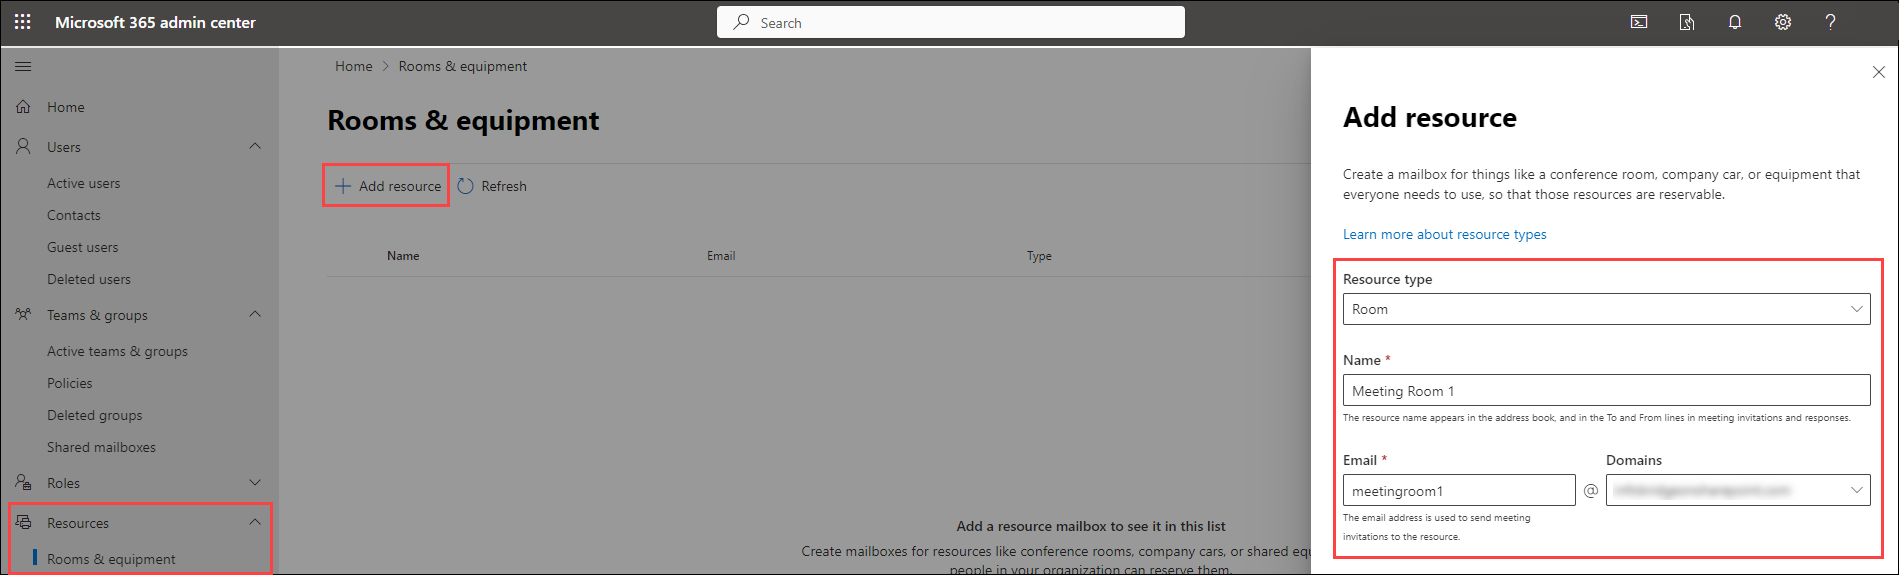
The resource needs to be set up in Microsoft 365 Admin Center by the Microsoft 365 administrator. Perform the following steps to add a resource:
- Go to https://admin.microsoft.com/#/ResourceMailbox (This will lead you to Rooms & equipment page in the Admin Center)
- Click Add Resource, fill in the resource details and click Save
Because we need to authorize the resource's mailbox from the Synchronizer profile, we have to reset the password for the resource. Go to Active Users and reset the password. Please remember this password.
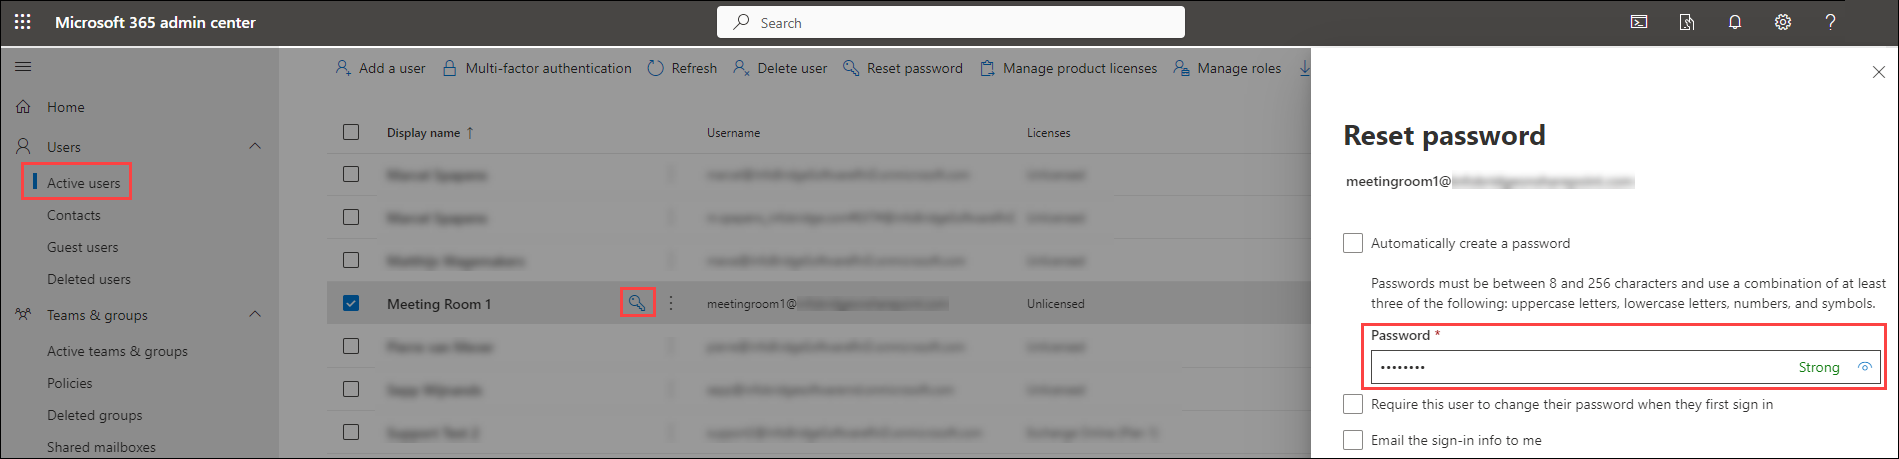
It can be useful to to turn off password expiration for resources, to make sure the syncing of resources is not interrupted. How to do this, can be found here
How to
Once the prerequisites are taken care of, the Synchronizer admin can add the Resource to the Synchronizer Profile, just like linking regular users.
- Log into Synchronizer
- Click on Link Users in the Profiles overview
- Link the Resource (In SuperOffice a resource can be made in Settings and Maintenance > Lists > General - Resource)

- Click on Action > Edit when the resource is linked

- Click on Sign in with Microsoft and fill in the credentials for the resource
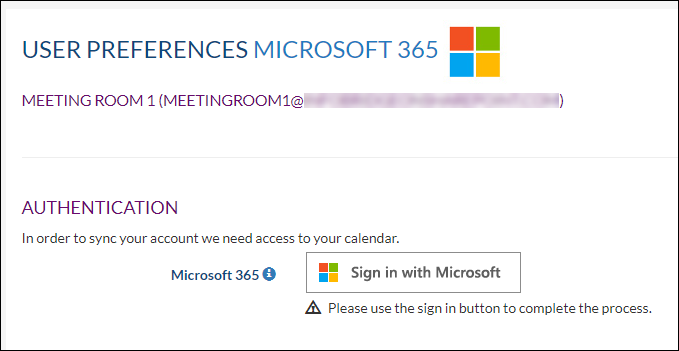
- Click Save
- The synchronization will now start automatically
Teams Rooms
When using a Teams Rooms license for a resource, the behaviour is the same as with a regular resource. Follow the above steps and Synchronizer for SuperOffice can handle this like any other appointment.
Microsoft Bookings
The bookings app from Microsoft creates appointments in the resource’s calendar. That resource can also be setup to synchronize with SuperOffice as long as there is a known password (see above steps).